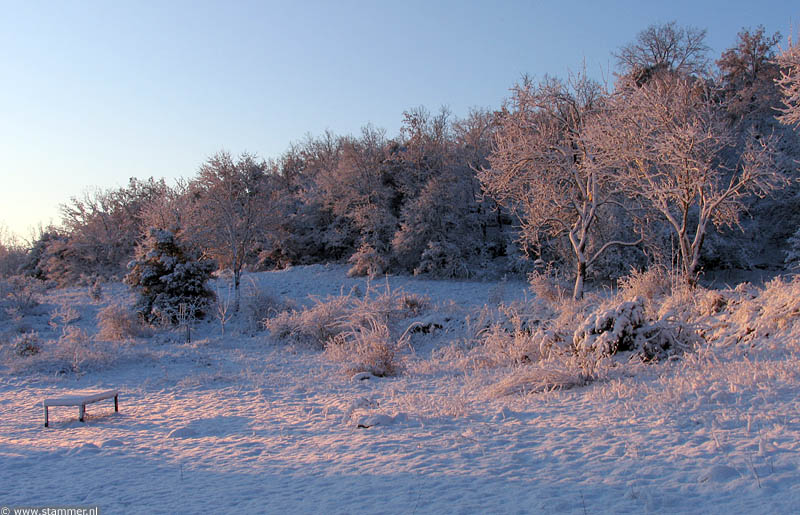
Few times have we experienced such weather extremes. On Friday we
had a layer of 10 cm snow in the morning and one day later
temperatures reached 17ºC at midday!
A surprising landscape of snow in March.
Looking north-east from the lowest terrace.
Friday 7:42
Looking south from the entrance.
Friday 7:43.
___________
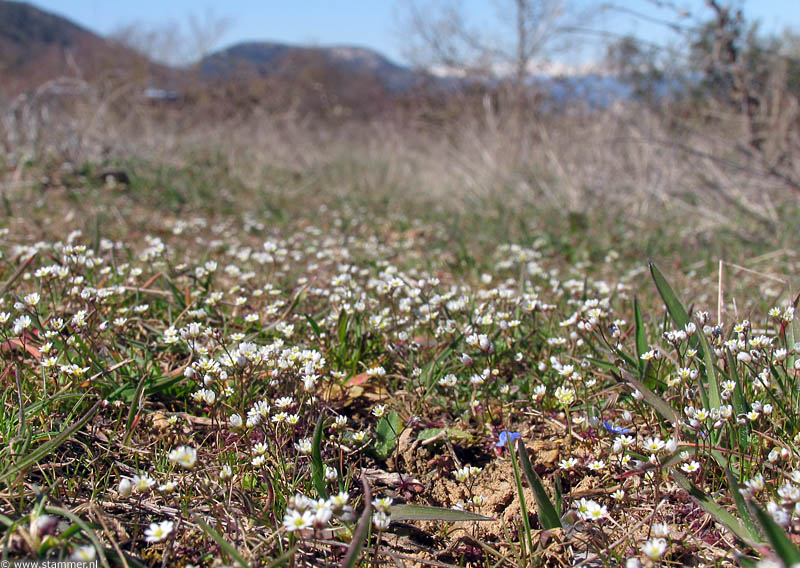
But it seems to be the last convulsion of winter,
spring is coming and the weather forecast predicts temperatures
above 20ºC for the end of the week.
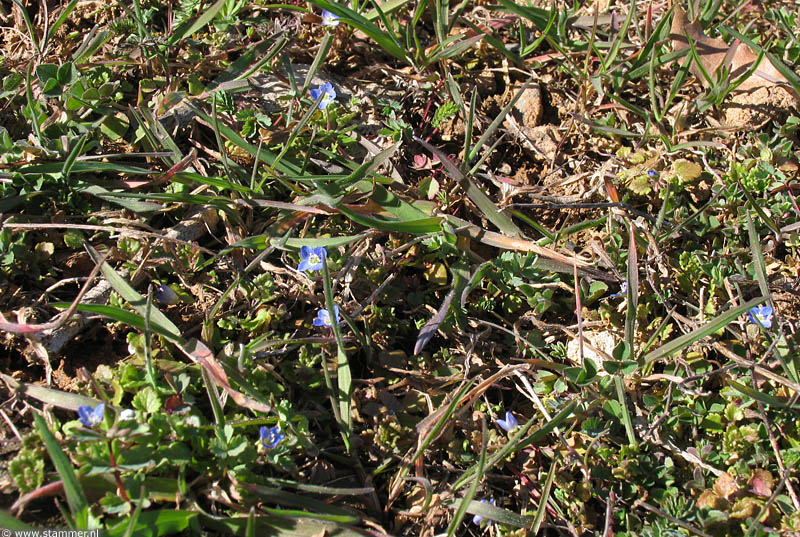
Apart from the Common snowdrops, other
plants started to bloom: Spring draba (Erophilaverna)
and Grey field-speedwell (Veronicapolita),
both extremely small.
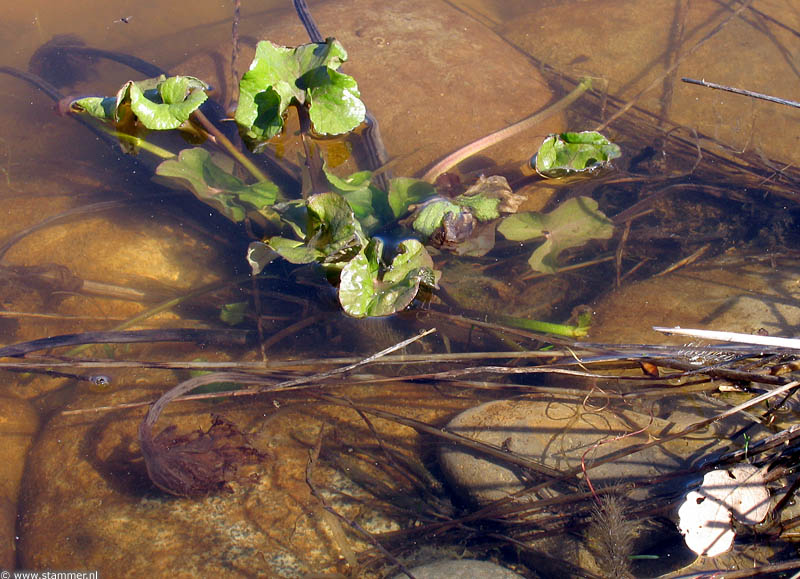
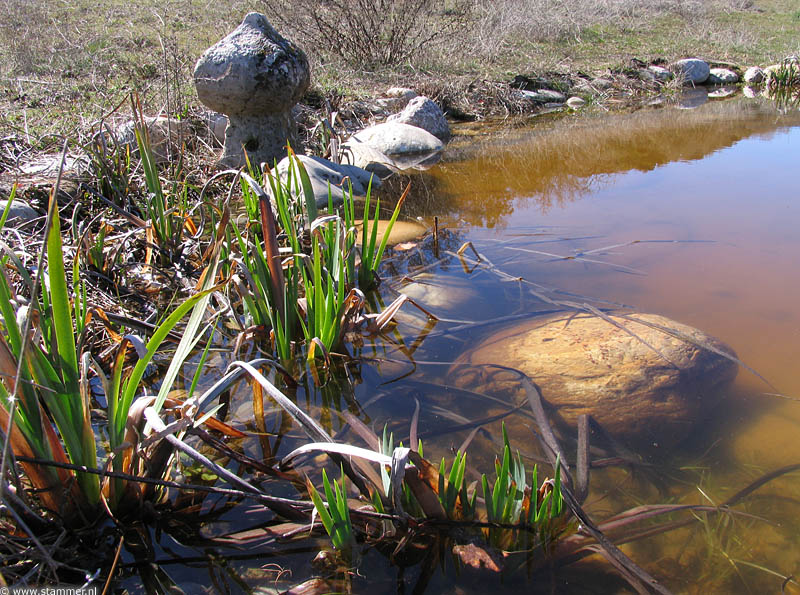
In the pond, four plants are waking up: Yellow iris (Iris
pseudacorus), Marsh marigold (Caltha palustris), Brooklime (Veronica beccabunga)
andPennyroyal
(Mentha pulegium).
Abundant
on the path that runs through the terrain is the miniscule
Erophilaverna.
Looking north-west.
Saturday 14:05
Another
tiny end-of-winter flower: Veronicapolita. Saturday 13:57
Calthapalustris stretching its leaves in the pond.
Saturday 14:15
Dead and
new leaves of Irispseudacorus combine well.
Saturday 14:09
______________
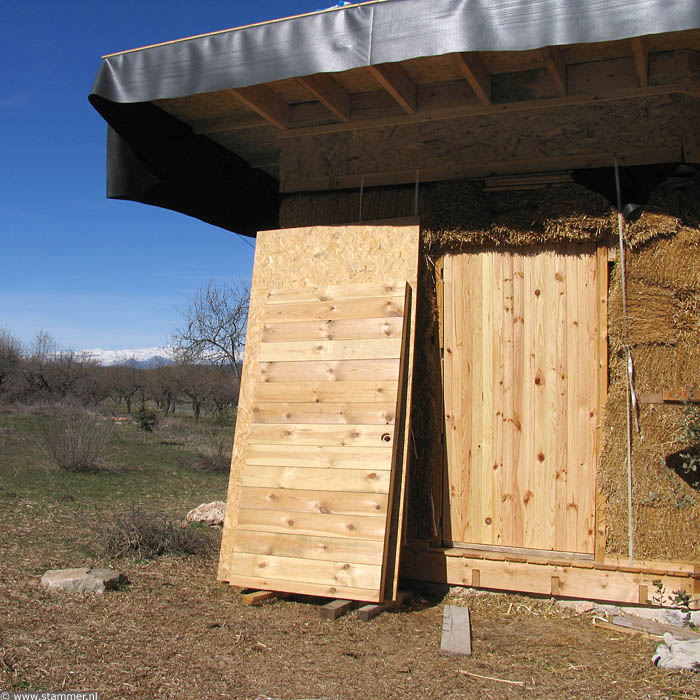
The work on the garden house is dominated by trial and error these
days. The making of a front door is a
demanding, precise job
and I thought I had taken all aspects into account. I wanted
something solid, insulating and economic and had used material that
had been left over. But once finished and installed it showed a
mayor and insurmountable fault: it was too heavy. For a brick wall
it would have been perfect but with the more flexible straw bale wall I
don't want to run the risk of continuous cracks in the plaster. I
made another one so, less than half of the weight and 65 mm
thick, instead of 86 mm. The inside was filled up with straw. The
old door will become a nice workbench.
The vertical pine boards of the new door are also preferable for the
better run off of rain water.
The old door with horizontal boards on the left.
Saturday 14:47
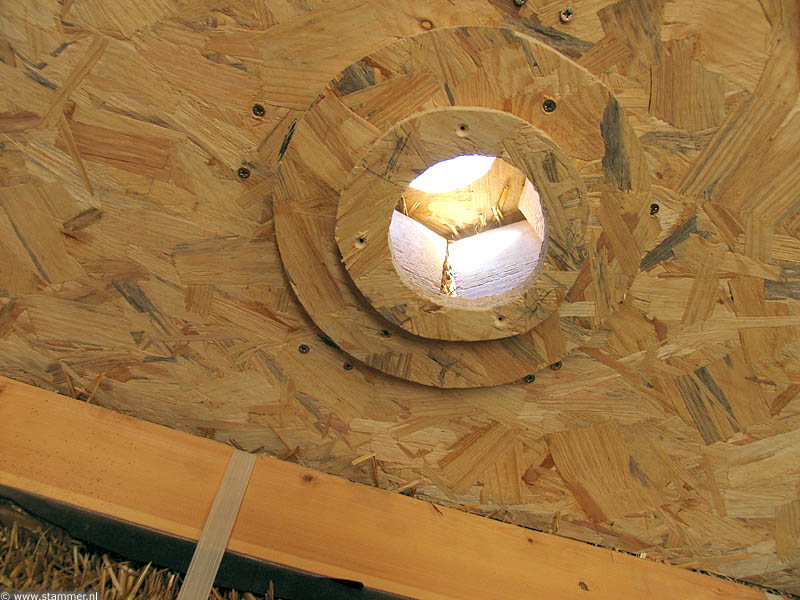
The form seen from below.
Friday 16:05
______________
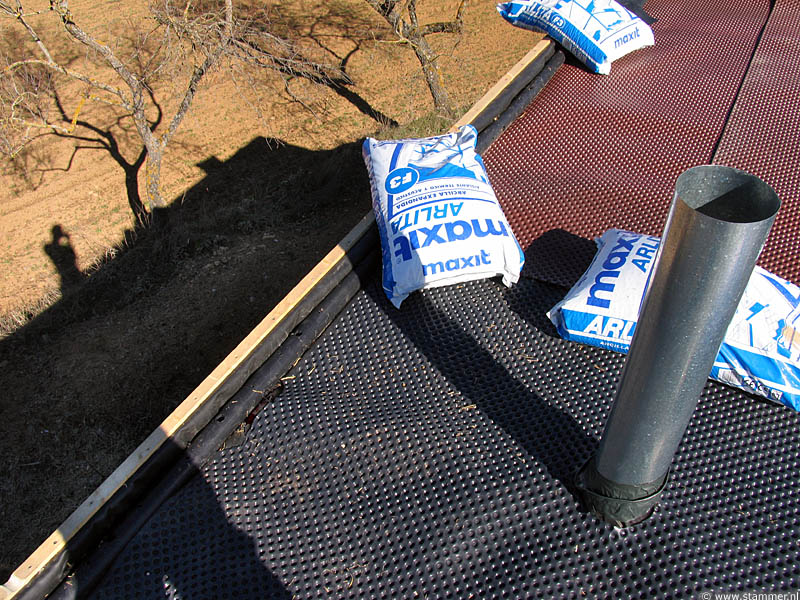
The first chimney I had
installed was criticised by more experienced people and I decided to
redo this job too. I made a kind of form inside the roof with thick
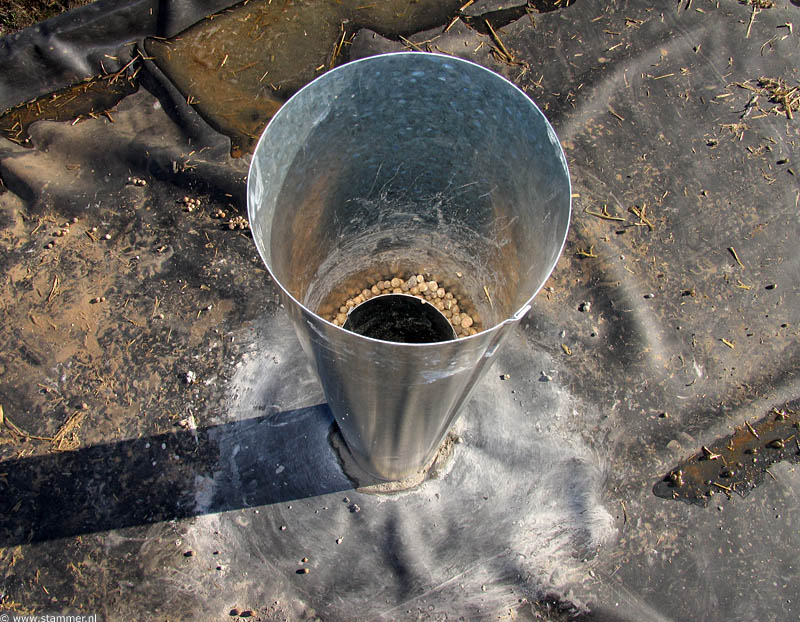
boards and temporal circular OSB boards at the bottom and filled the space with a mix of mortar and expanded clay
pellets (Arlita). The chimney tube (10 cm diameter) traverses
the mortar and another tube (15 cm diameter) goes halfway the mortar
and serves as extra insulation to improve the chimney draw and avoid
condensation. The space between the tubes is filled with pellets.
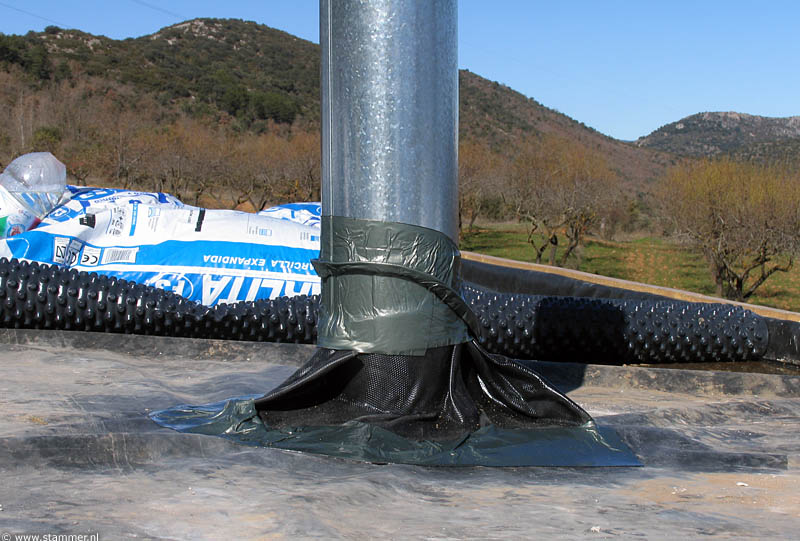
I needed some courage to cut a considerable hole for the chimney
into the waterproof EPDM sheet. There is a special product to seal
the EPDM to the tube (Formflash)
but it not easy to manipulate, especially when you do it for the
first time. In other words: I messed it up.
With some amateur fantasy and creativity I was able to remedy the
thing and I am now quite sure any raindrops have a hard time to
enter inside the roof.
The two galvanised tubes with the filling of pellets, stuck into
the mortar mix.
Saturday 9:49
The chimney sealed up with
Formflash and universal seal formed in a kind of gutter.
Sunday 11:11
______________
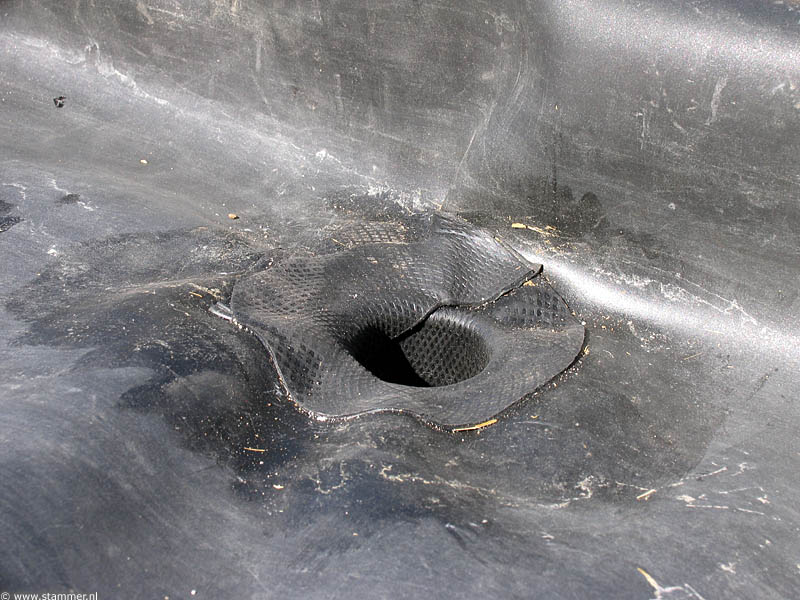
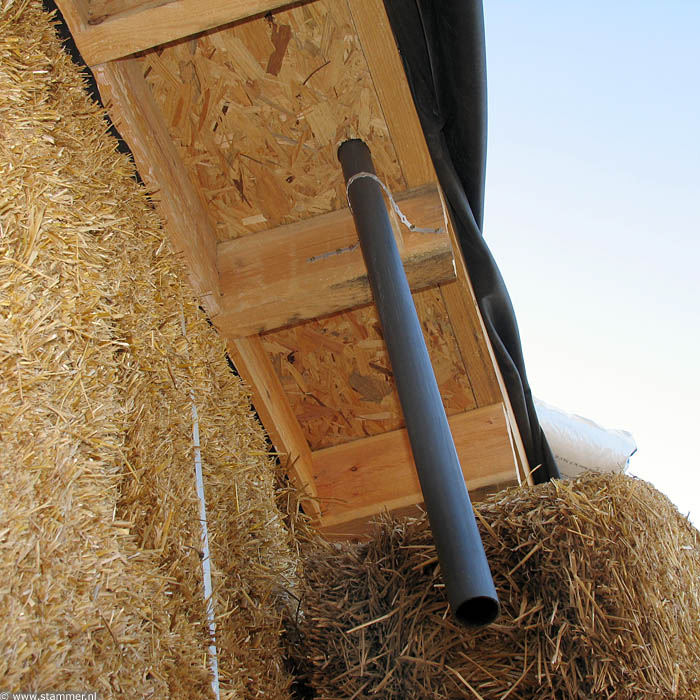
The making of the hole and tubing for the roof drainage went a lot smoother. A PVC
tube (5 cm
diameter) was fixed to the hole and will be connected in the future
to a rainwater harvesting system.
Along the lowest side of the roof I installed a drainage tube made
of a salvaged water pipe which I perforated with a drill.
The drain hole in the roof, sealed with Formflash on the
EPDM sheet.
Saturday 14:22
PVC drain tube coming down from the roof.
Saturday 17:36
The drain hole is in the cut out area of the protecting knobbed
roll (HDPE). The drainage tube runs along the border.
In the extreme lower left corner is the lowest point with the
overflow.
Saturday 15:38
______________
The
roof is now ready to receive the layer of pellets (Arlita)
and a last layer of soil, dug from the building site, into
which the succulents (Sedum and
Sempervivum species) will be planted. The
preceding layers
are, from top to bottom: geotextile, knobbed roll and
the EPDM sheet on the OSB board that holds the straw.
The several layers of material on the roof are perhaps somewhat
overdone and sophisticated but they play some important roles:
insulation, waterproofing, protection, rainwater collection, plant
growth of succulents while at the same time avoiding the growth of
grass (because of the thin soil layer of about 5 cm) which turns dry
in summer.
The snow-white geotextile
protects and covers the knobbed roll and drainage tube.
Looking north.
Saturday 17:05