succulent roofs

Being a fan of botany and natural vegetation, I have always been fascinated by green (or vegetation) roofs, which are quite fashionable these days, at least in countries like Holland, Germany and Scandinavia. Green rooofs have quite some advantages: they protect the waterproof black EPDM sheet, they insulate the house against heat and cold and they work as a water buffer, regulating the water drainage with heavy rains. This may especially hold true in cities where climate change seems to provoke more irregular and heavy rainfall. Urban green roofs also offer welcome new opportunities for insects, birds and plant life. Another personal motivation for green roofs is that they can be very economical, especially if you do everything yourself with the method I propose. When you hire professional help or buy the ready made green carpets from the garden center, you will have to spent 5 to 10 times as much.

The greenhouse in the bottom right corner has a semi-transparent roof of fiberglass.
Over the years I installed three green roofs. Two for the house with its two modules (the first consisting of the kitchen and the second the studio-bed-living room) and a simpler one for the toilet building. All three of them are of the Sedum variant and are often called Sedum roofs, after the plants from the Sedum genus. Sedum species are well suited for the task, especially if the soil layer is only around 5 cm. For more insulation and water buffering you can choose a system with more soil (up to 20cm) but then you need to take care of the extra load in the construction of your house. This last variant features more grasses and needs more maintenance. My Sedum roofs are respectively 10, 5 and 10 years old, haven´t had practically any maintenance and are doing fine.

For the two roofs of the house I used more or less the same method which will be described in the next paragraphs.
In the early spring of 2009 the roof of the first module of the house (a kind of garden house, serving as a first essay in straw bale building) was ready to receive the different layers that make up the green roof system, as I had studied and adopted from various sources of literature and internet. Schematically it looks something like this:

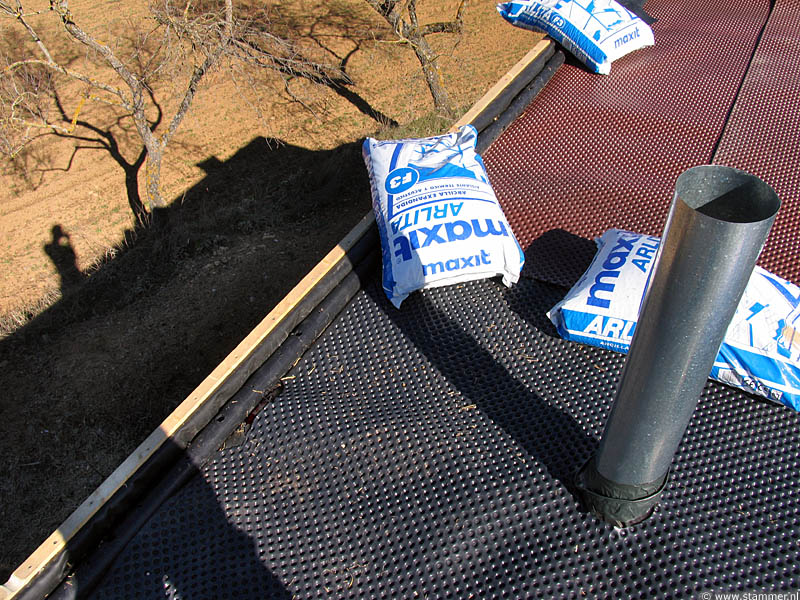
The waterproof black EPDM sheet is of course the crucial and also most expensive element of the roof. It has a warranty of 50 years but is still quite vulnerable being only about 1mm thick. The knobbed HDPE roll is basically a cheap protection for the EPDM and can also hold some rainwater in its knobs. The geotextile is another protection layer and keeps the soil in place while keeping the HDPE knobs open for some water storage.
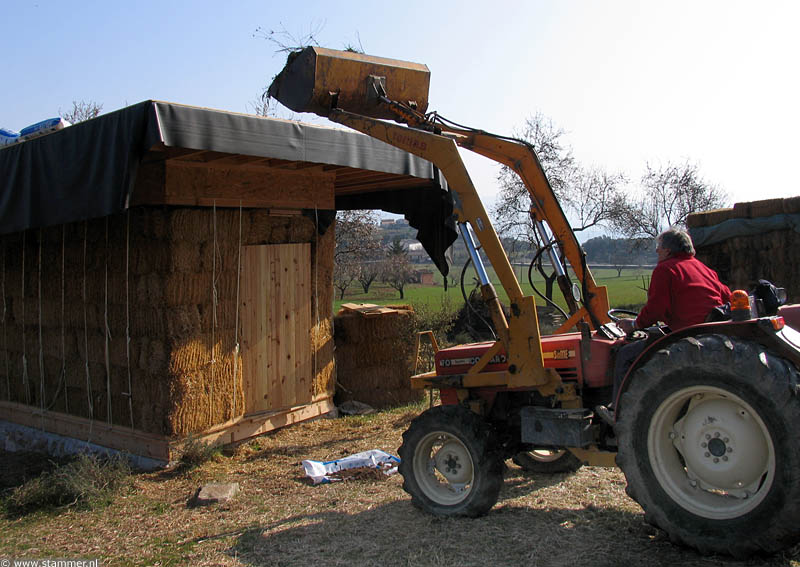
The soil consists of the 10cm top layer of the soil from the very same spot of the house, which was excavated in order to lay the foundations. The expanded clay pellets (´Arlita´) were partly used as substratum and partly mixed into the soil. They mainly reduce the weight of the soil layer while still working as a substratum for the rooting of the vegetation.
Once the soil was in place, many ´books´ of straw (=more or less intact pieces of straw bale) were spread out over the surface. Cuttings of a couple of Sedum species were then planted or ´sown´ into the spaces between the books. The straw maintains humidity and helps the seedlings establish. I used mostly the readily available Sedum species from the local region: Sedum acre, S.sediforme, S.album, S.reflexum, S.anglicum and S.telephium. The last one was bought and was the only Sedum species not to survive after 5 years, and it was the same for Sempervivum tectorum. All the other ones quickly settled and thrived.
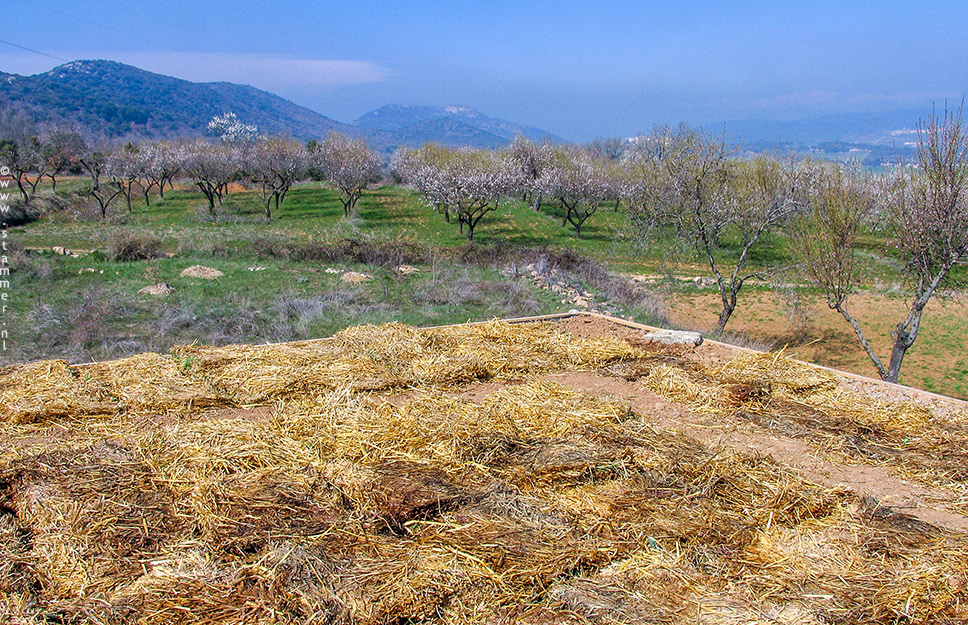
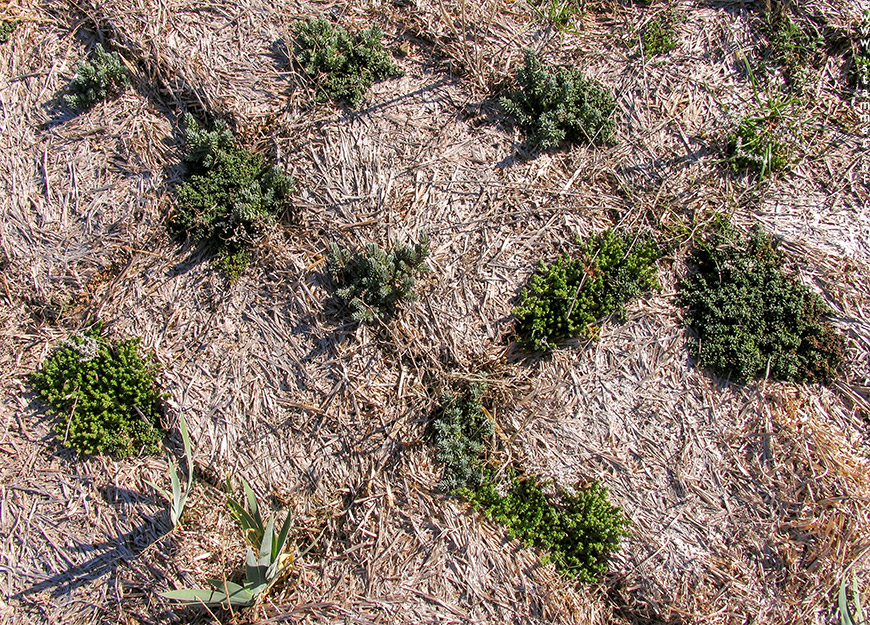
It was astonishing to see the vigorous growth and flowering the next spring. For aesthetic reasons and fire risks (with the chimney so near) most of the straw books had been taken away.

At the back the greenhouse.
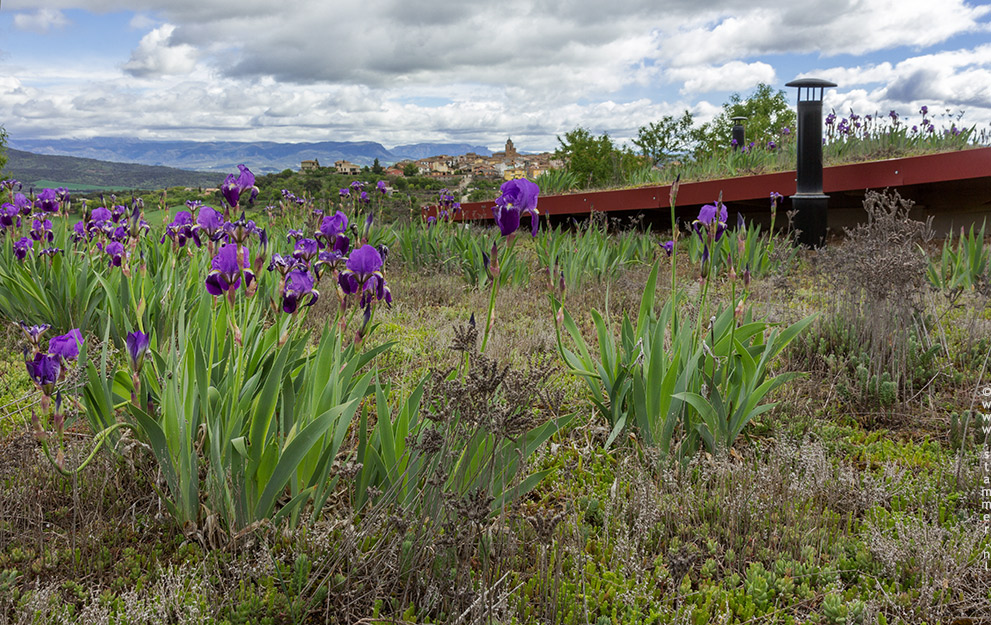
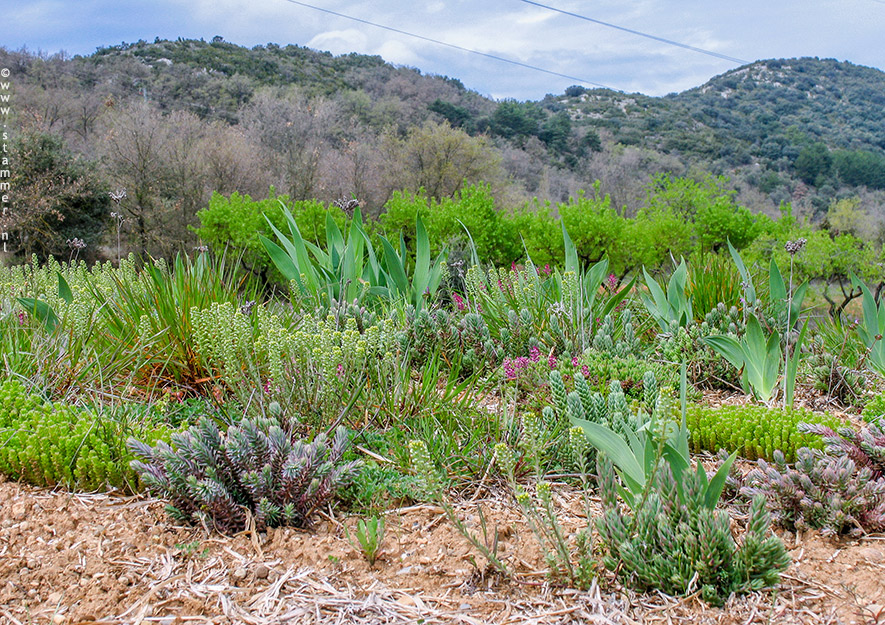
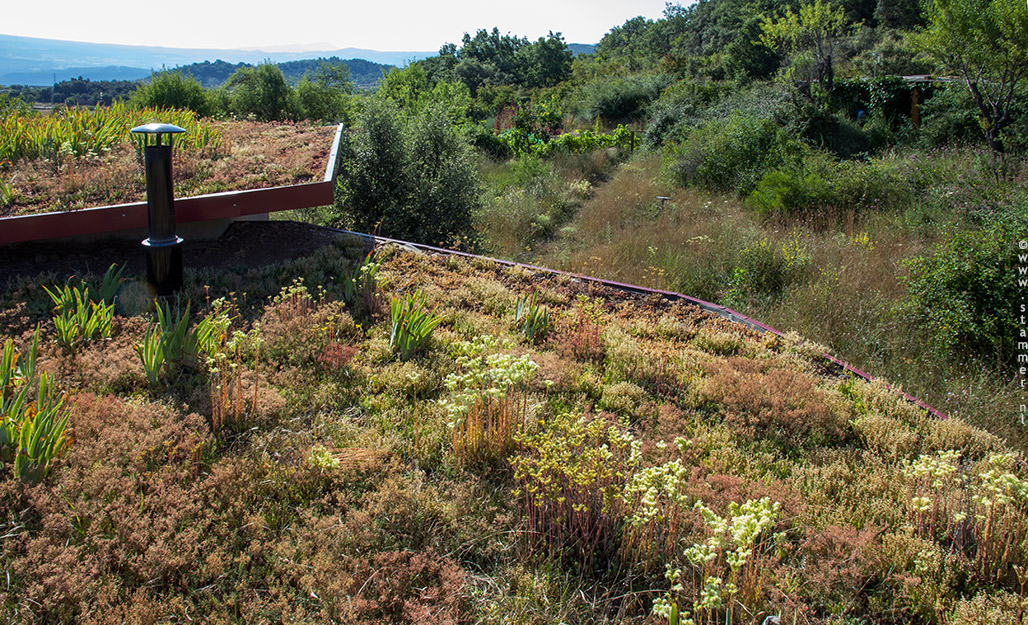
Remarkable is the appearance and persistence of Iris germanica. Its presence was not planned and in the beginning I was somewhat skeptical and reluctant thinking it was too bulky for the vegetation tapestry and that it wouldn’t survive the long dry summers anyway. But it stayed, and moreover: it massively flowers every spring, much more abundantly than its fellow plants on the ground. And then I really started to appreciate them, even during the rest of the year when their leaves turn partly brown and blend nicely with the rest of the withering vegetation. It is amazing that such a big flowering plant can thrive and spread in a layer of just 6 cm soil, which completely dries out in summer when there is sometimes no rain for 2 or more months. Part of its success will have to do with its 3 to 5 cm thick rhizomes. It is very important not to cut its withering leaves after flowering because the plant seems to reuse all the nutrients inside them. I think that the use of this plant on green roofs is very promising and recommendable. It combines the advantages of grass roofs with their denser and higher vegetation with the low maintenance and low weight advantages of Sedum roofs.


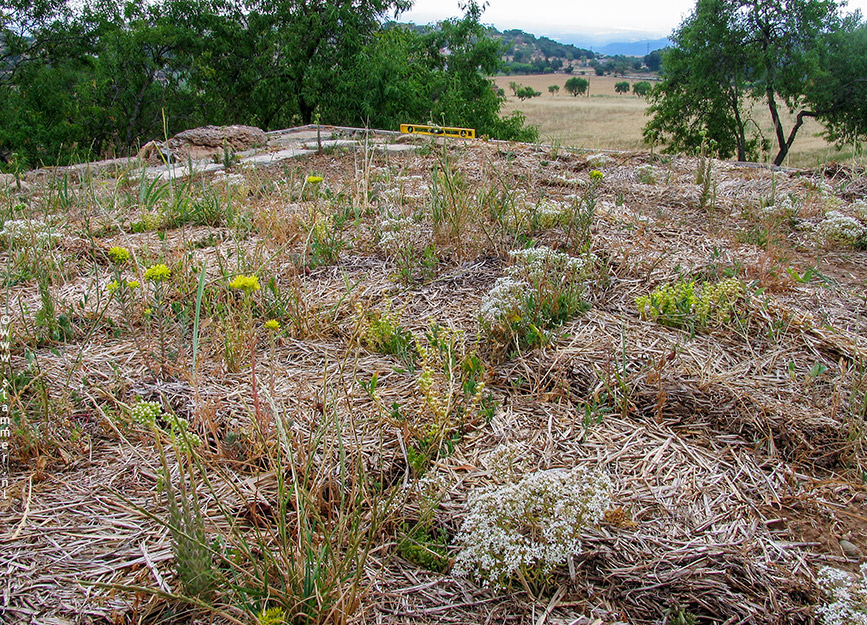
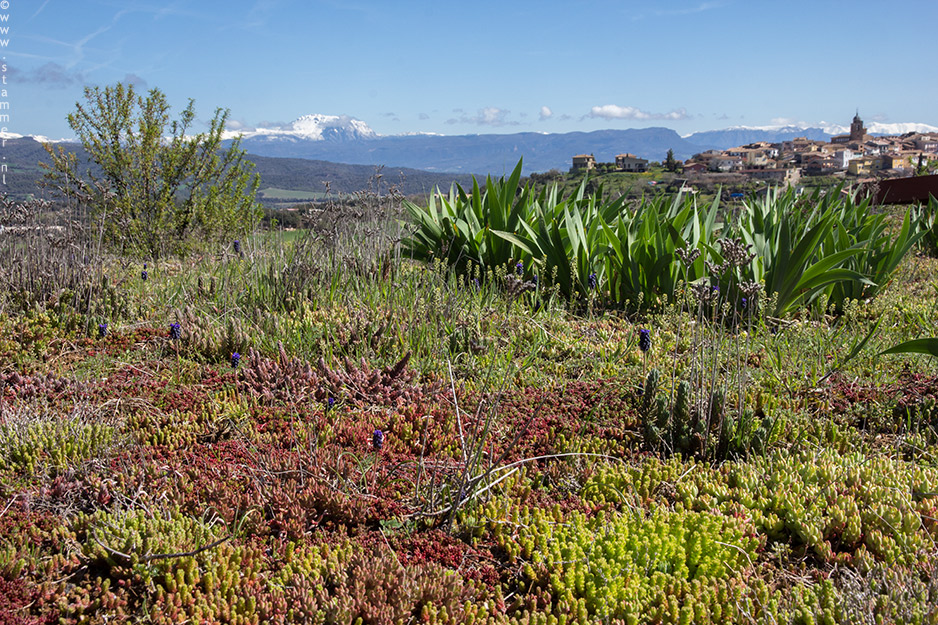
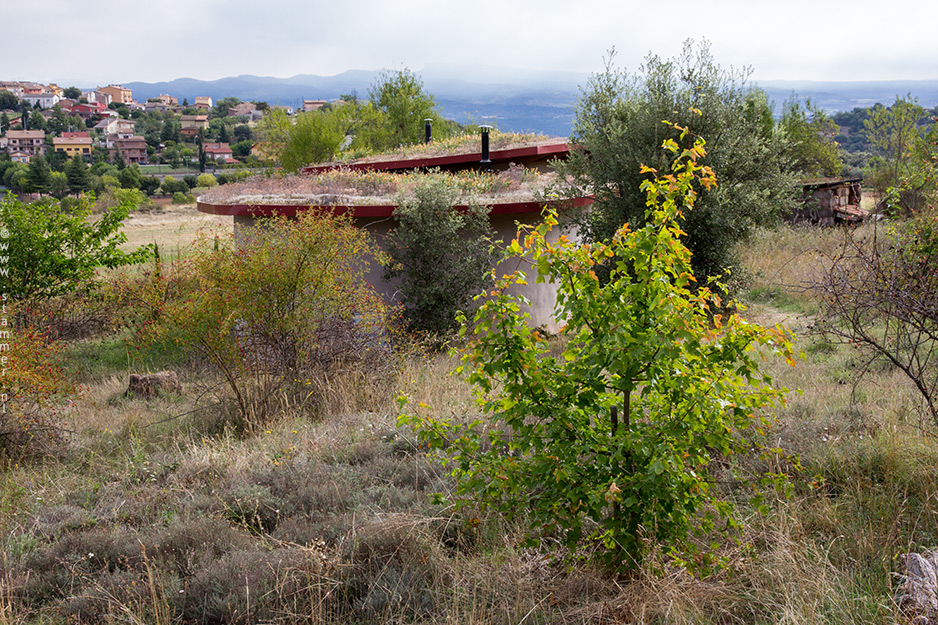
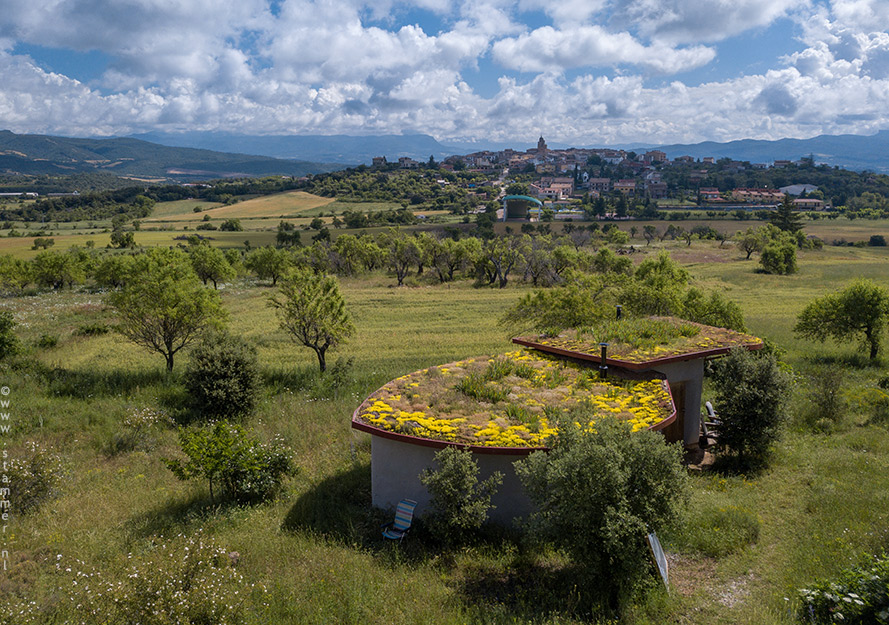
The last two images above were taken on the second green roof, which was installed on the new wing of the house in 2013, following the same procedure as for the first roof. The first roof has an angle of 5 degrees and this 2nd roof about 1.5 degrees, quite favorable for the establishment of vegetation on green roofs. Higher angles involve risks with heavy rain that might wash away the soil and plants. But on the other hand, the almost horizontal roofs take the risk of dangerous weight with heavy snowfall. Heavy snowfall is very rare in this region, with snowfalls that haven´t gone passed 20 or 30 cm for the last decade(s). But in March 2017 I climbed up the roof with a shovel to take away some snow when there was already a layer of 20 cm and it continued snowing heavily. But I haven´t noticed any cracks or bending whatsoever in the structure of the house.

In 2009 I installed a green roof on the compost toilet following a simpler design with only EDPM sheet, knobbed HDPE roll and a shallow soil layer of a few centimeters. I didn´t want to charge the un-plastered straw bale walls with too much weight. Especially Sedum album is doing well there, and also, to a lesser degree, S.anglicum and S.acre.
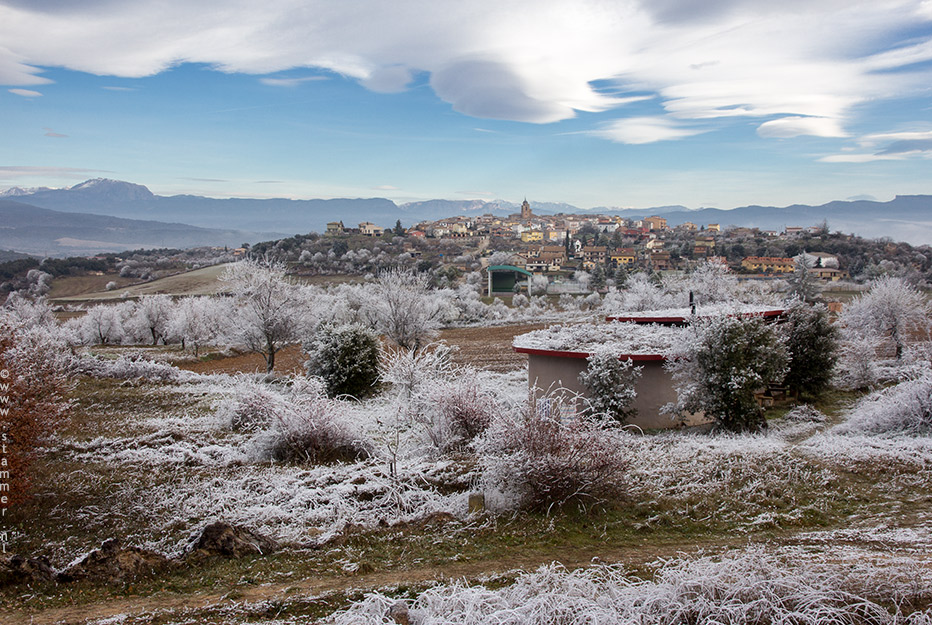
The next images give an impression of the green roofs in different seasons and weather types and show how it makes the house blend nicely in its surroundings.
_______________