|
|
Nature
Switched On
|
|
|
introduction |
2009 July 1 to August 7
Most of July had been very dry
with temperatures often passing 30ºC and quite some wind. Only at
the end of this month there was a substantial downpour of almost 25
litres of rain. This thunderstorm filled the superior pond, which
had completely dried out, to some degree.
|
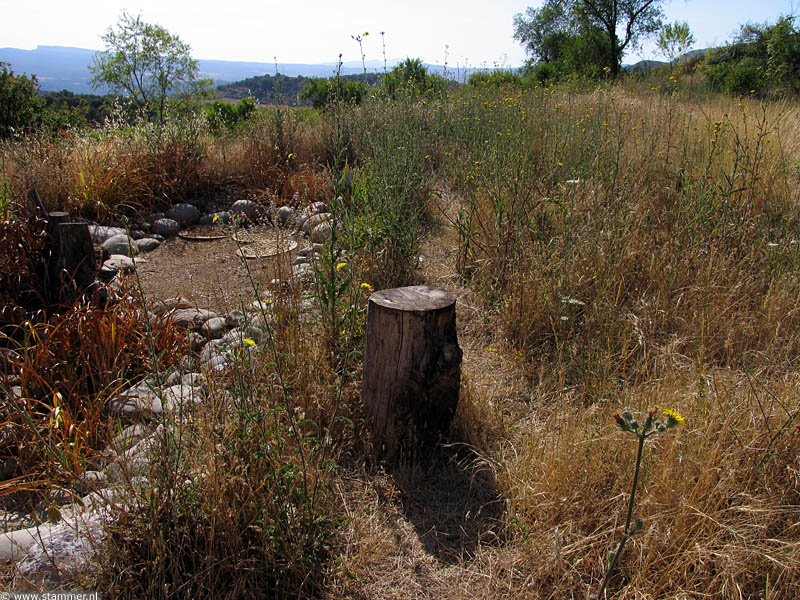
The dry superior pond. The inferior pond still contains some
water. |
|
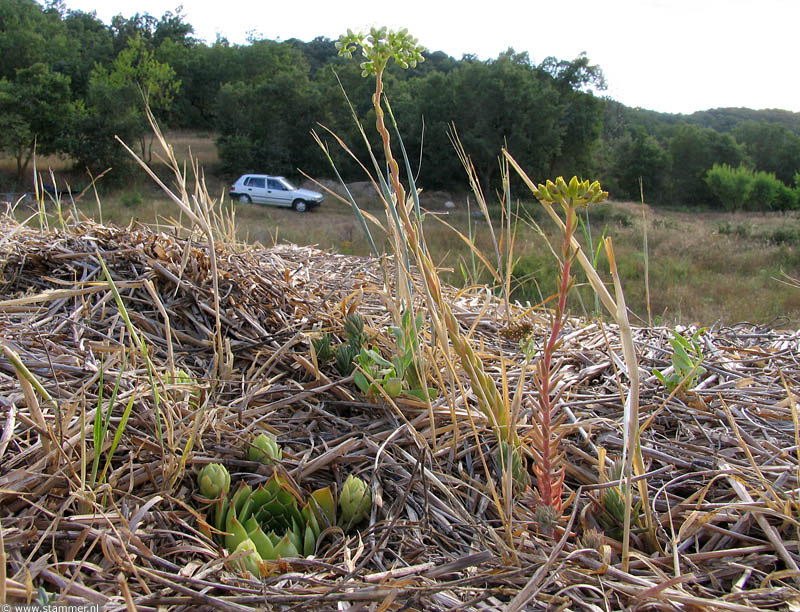
Sempervivum tectorum (with four 'satellites'),
Sedum sediforme (white) and Sedum reflexum
(yellow). 1 July 19:48 |
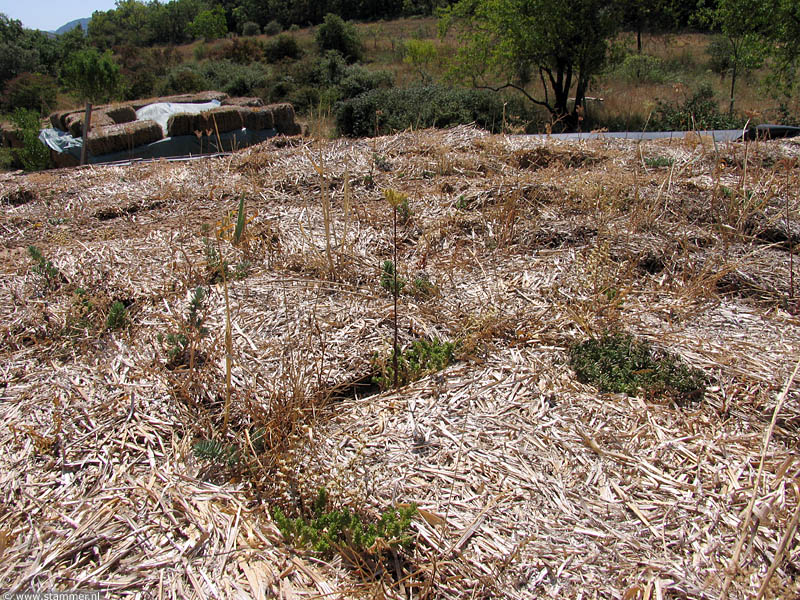
Sedum species surviving
in the 'corridors' between the straw flakes on the green roof. 6 Aug 12:39 |
|
|
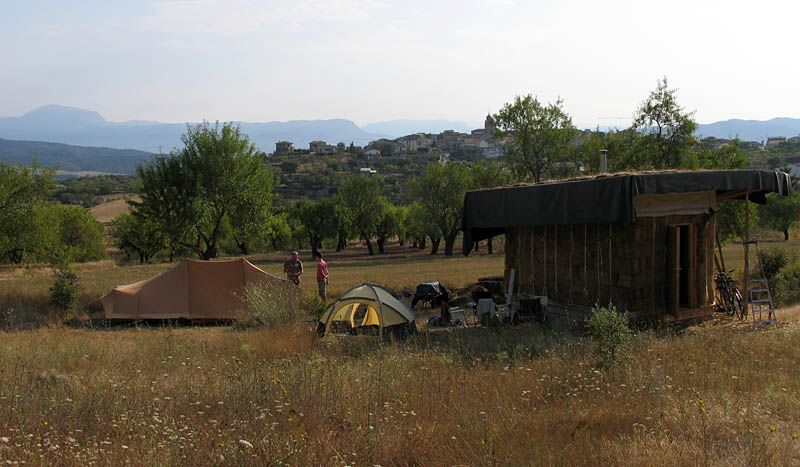
A long stay of my brother and his family on th
|
||
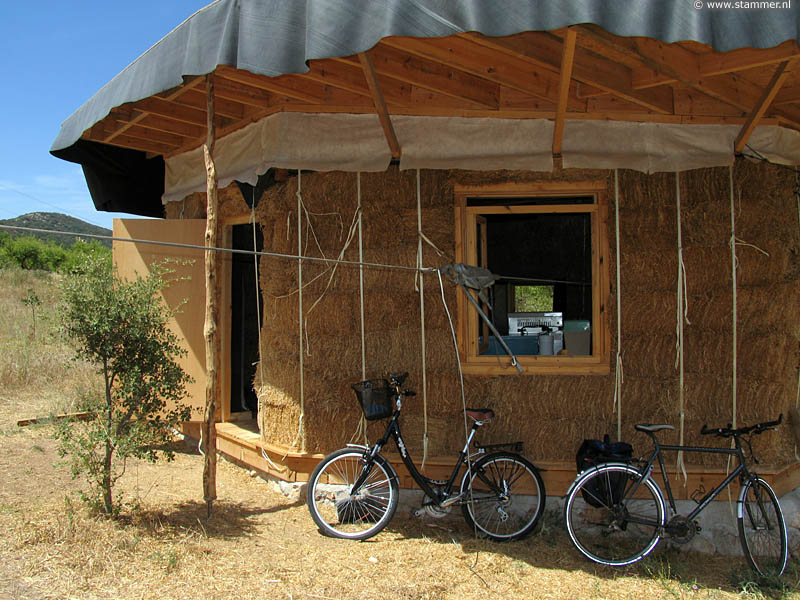
| 'Camping
site' on the terrain. Looking north-east. 7 Aug 9:27 |
||
|
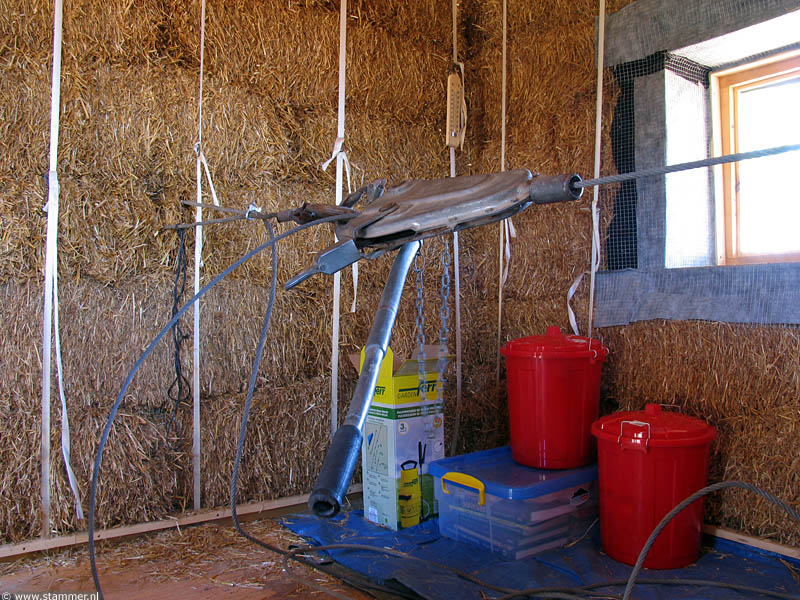
Surgery on the straw bale walls
with hoist and cable, attached to an almond tree. 30 July 14:28 |
||
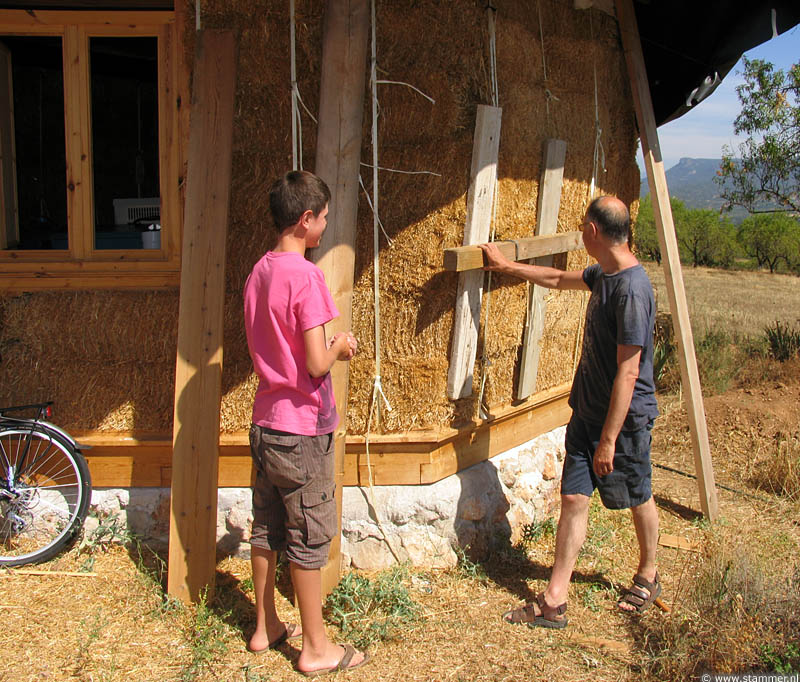
| Before
tensioning. A cable looped around a board which will exert pressure on two additional vertical boards. 30 July 11:33 |
The manual hoist proves to be a versatile and almost
indispensable tool for correcting straw bale walls. |
|
|
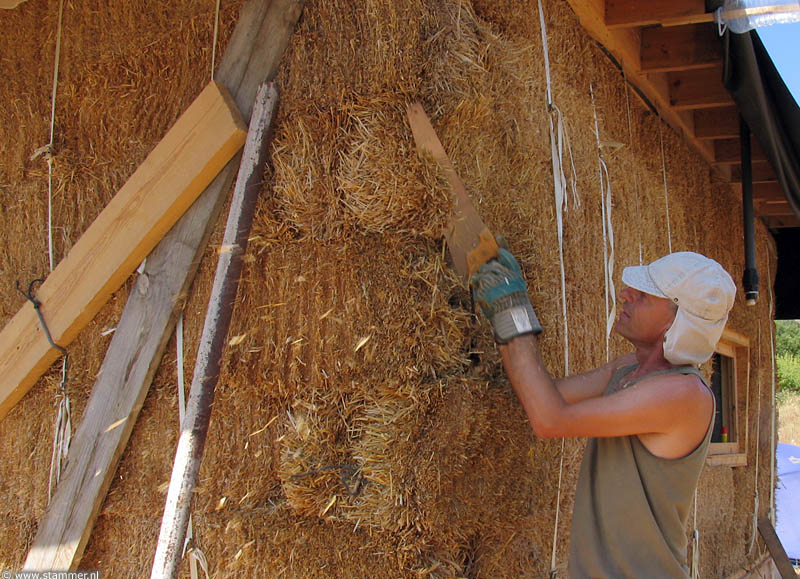
The corners needed also some kind of surgery. As a result of compression the bales gain something in length which is inevitably transferred to the corners. A simple saw is one of the best tools to shave the corners, while just manually taking away straw from behind the strings is also effective provided you retie the strings with the help of some short wooden sticks.
|
||
Undersigned shaving a corner with an ordinary saw. 1 Aug 12:30 |
Retied straw bales on the north
corner. Watch the bending of the board on the left, showing the
surprising strength of the straw bale wall. 30 July 14:29 |
|
|
With the walls almost completely flat and vertical, we could start
with the plastering. We used the same earth that was taken out of
the ground for the foundations and th
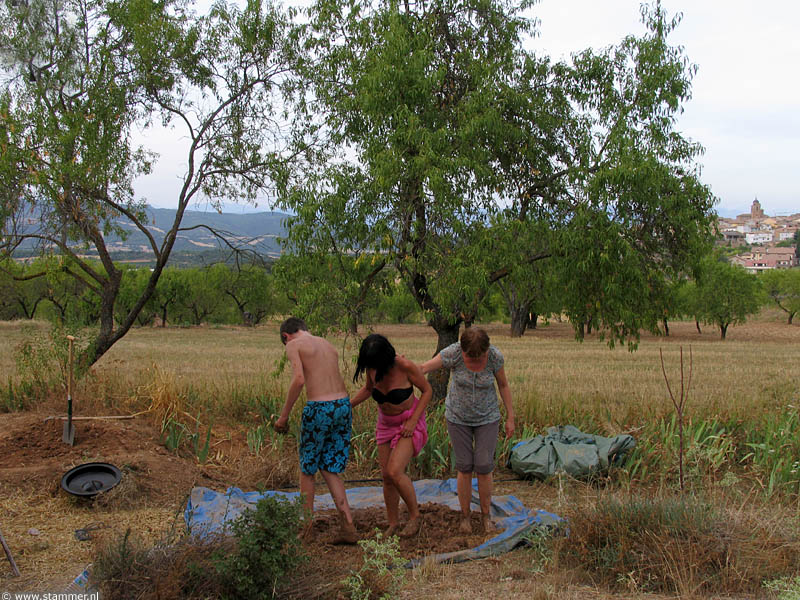
The most comfortable and funny way of mixing the plaster is just
tramping with bare feet. Adding music and dance is recommendable of
which the most efficient proved to be the cha-cha-cha.
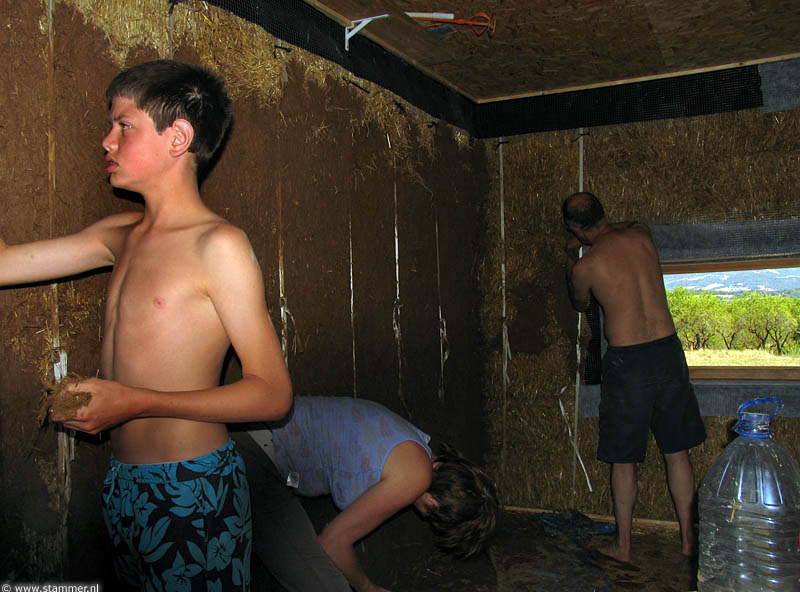
The application of the plaster onto the walls goes best with bare hands and wetting the straw bales previously with a spray. Some parts were quite difficult to stick the plaster. In these case a very thin layer of plaster sufficed to prepare for a second layer which stuck much better. |
||
|
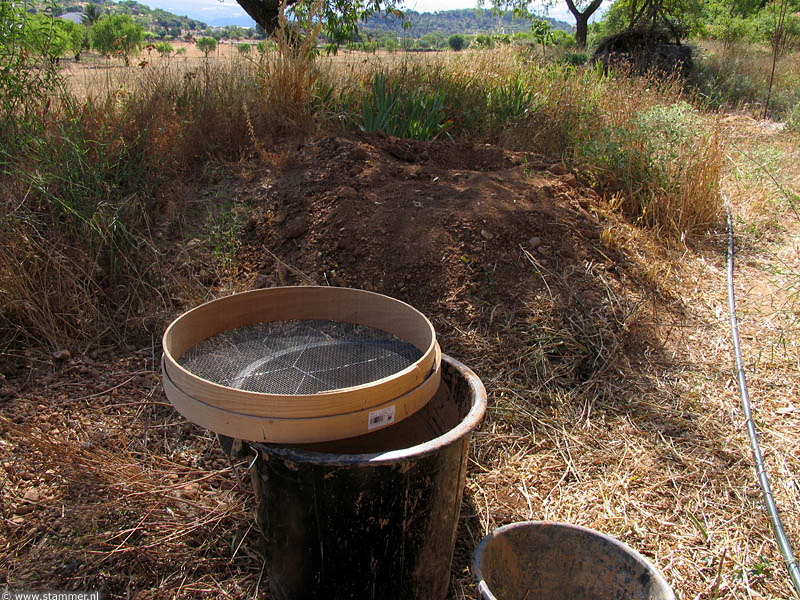
The sieve with the heap of earth dug out of the construction
site. 20 July 10:22 |
||
|
Mixing the plaster with a Cha-cha-cha. |
My nephew chopping the straw
with an electric weedwhacker. 4 Aug 18:37 |
|
|
Applying the plaster onto the
interior walls. 4 Aug 11:42 |
||
|
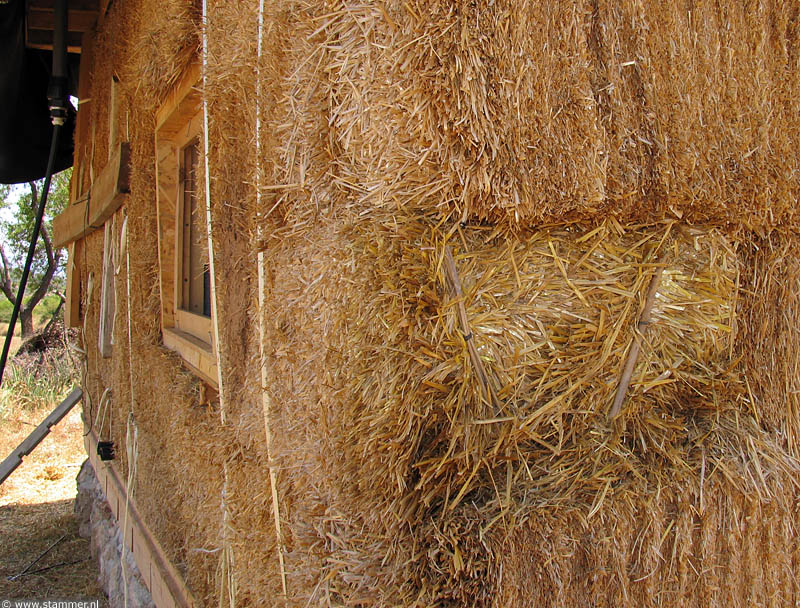
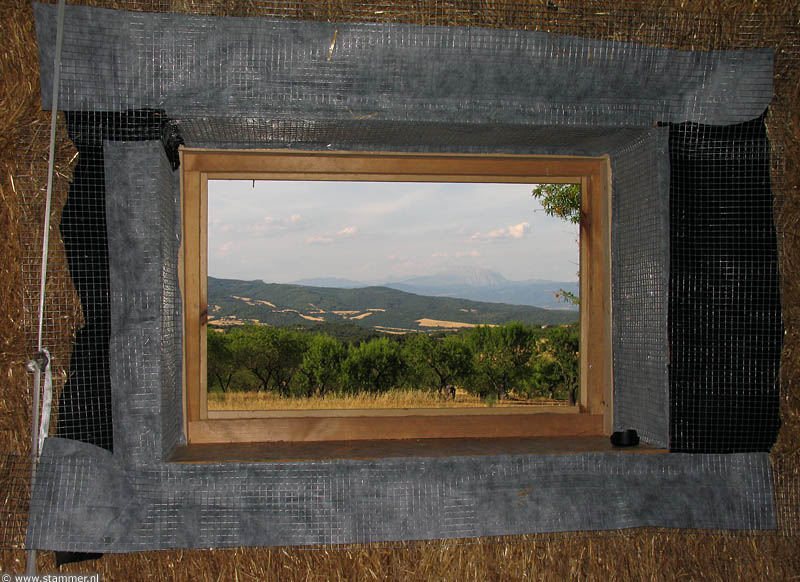
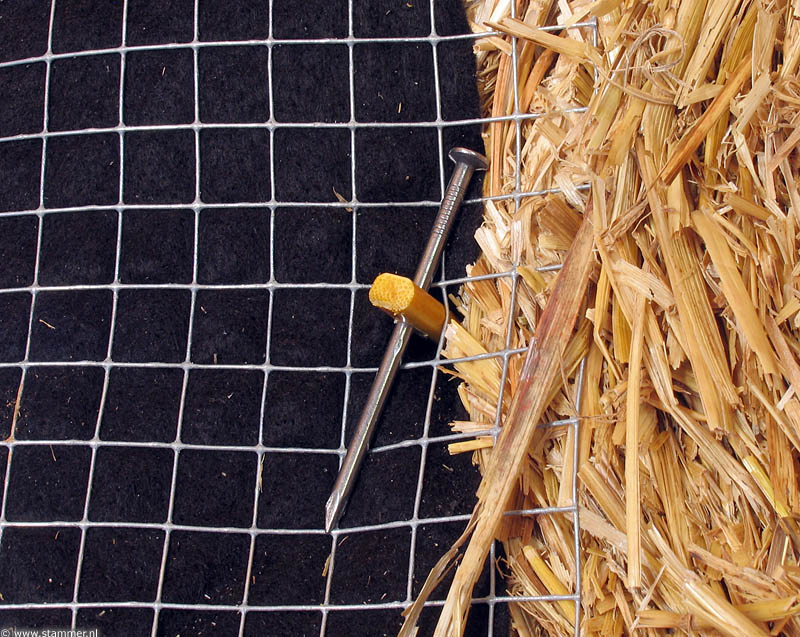
To fix the mesh to the straw bales the literature (and internet sources) recommend so called 'landscape pins' which are impossible to find in Spanish hardware and construction stores (a returning problem). So I improvised my own pins, using Chinese bamboo chopsticks (less than 5 eurocents per stick) and 70 mm nails.
|
||
|
Window box with cloth and metal mesh to accommodate the plaster. 2 July 18:52 |
||
|
Improvised 'landscape pin'. It goes about 20cm into the bale. 20 July 10:19 |
||
|
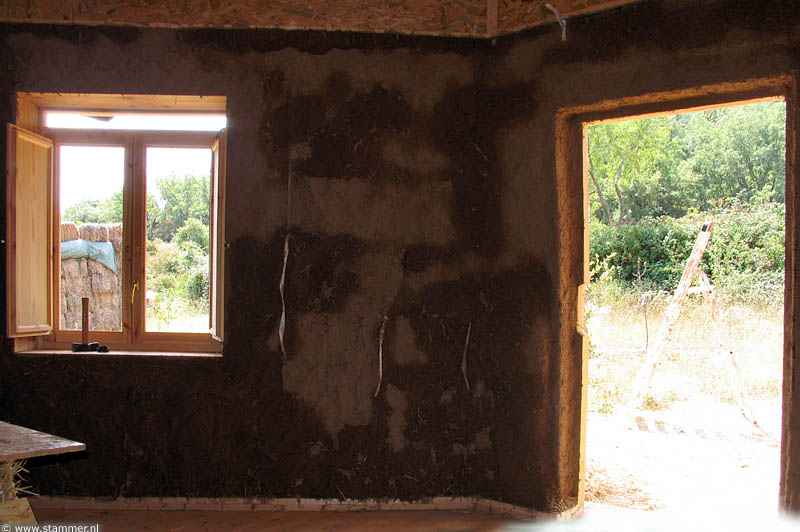
A first layer of plaster applied. Darker areas are still wet. 7 Aug12:49 |
To avoid a dark cave effect the
last layer of plaster will be dyed white. 7 Aug 12:45 |
|
|
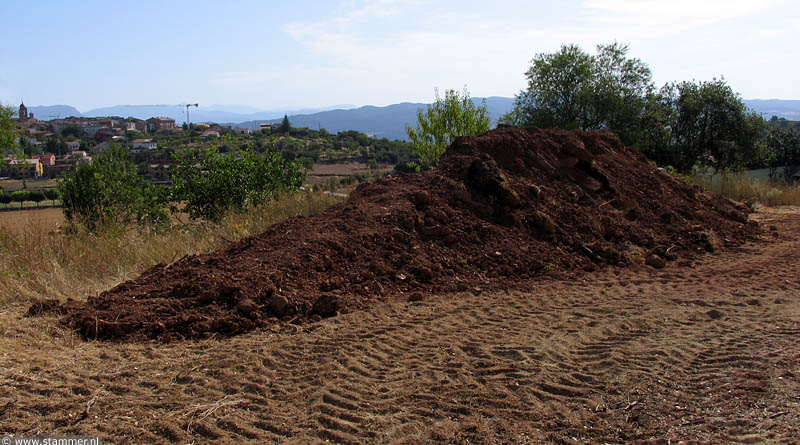
This heap of earth in the extreme south-east corner of the terrain
is hiding a collection of big stones
which had to be removed with a
bulldozer from the border with our neighbours. I gave the hill
|
||
|
Heap of stones, covered with
earth to favour plant growth. Looking north-east. 20 July 19:57 |
||
|
introduction
|
|